
KALI LINUX
Welcome to this Cyberkach series on Kali Linux. In the first part of this series, we will introduce Kali Linux and perform an installation walkthrough. Subsequently, we would dive into Kali Linux and explore its vast functionalities.
What is Kali Linux?
Kali Linux (Kali) is a Debian-based Linux operating system built for advanced Penetration Testing and Security Auditing. Kali contains several tools for various information security tasks, such as Penetration Testing, Security research, Computer Forensics, and Reverse Engineering. In this article, we called Kali Linux a swiss army knife and now you know why. It is developed, funded, and maintained by Offensive Security, a leading information security training company. Interestingly, Kali Linux became far more popular due to its prominent appearance on the popular television series – Mr. Robot. You can download it for free from the official Kali website. (Download Kali Linux here)
Before we start, here are some installation prerequisites you should consider before installing the Kali OS image:
- A configured virtual machine (Read our post on how to configure your virtual machine here)
- At least 20GB of disk space
- At least 4GB of RAM for your host/virtual machine
Now it is time to delve into the exciting world of Kali Linux.
Let’s login!
Steps to install Kali Linux
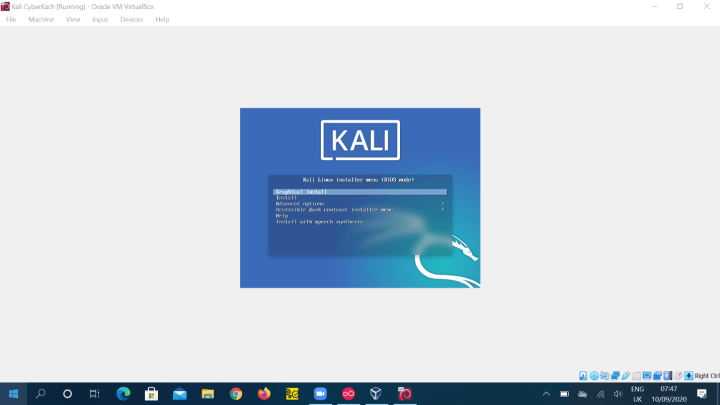
- Boot Screen: Upon successfully starting up your virtual machine with your Kali OS image, you are greeted with the famous Kali Linux boot screen. For this walkthrough, select the graphical install option.
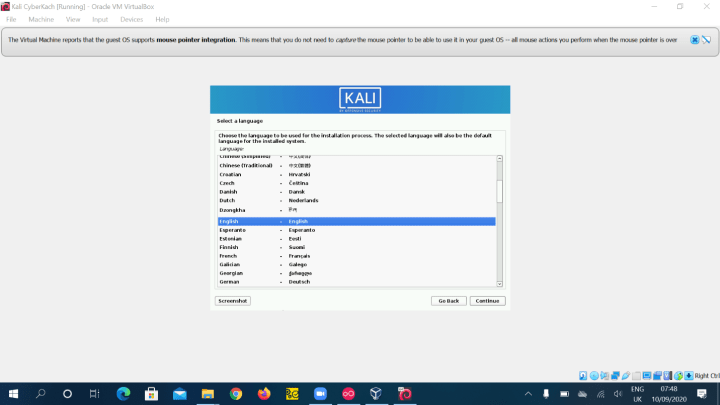
2. Select a language: Select your preferred language and click the "Continue” button.
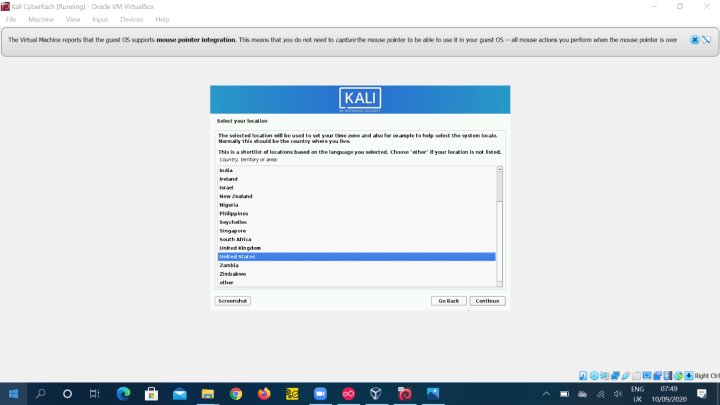
3. Select a location: You would be required to select your geographical location. Don’t worry, you don't need to choose your exact location. But do note that the location options are based on the language you selected in the previous step.
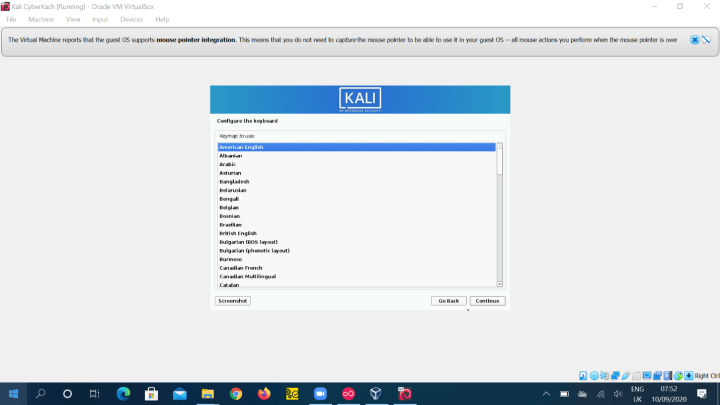
4. Configure the keyboard: Here you can specify your preferred keymap.
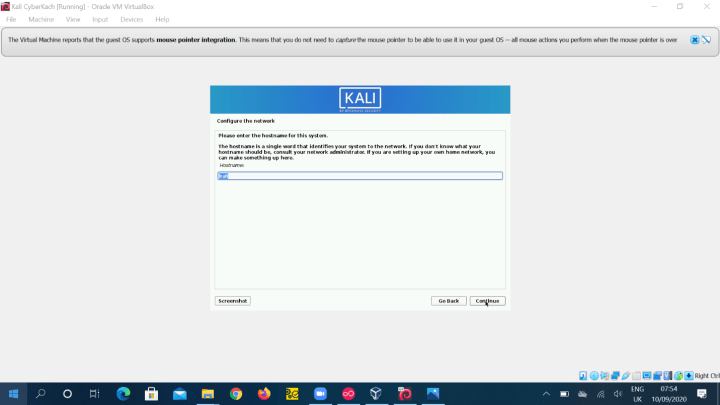
5. Configure the network: Next step is to provide a hostname for your host/virtual machine. Basically, a name that identifies your machine on the network. For this example, we would just go with something simple – Kali.
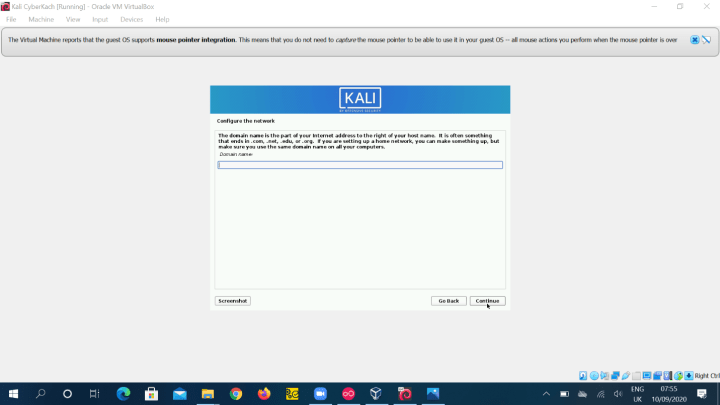
6. Configure the network (Domain name): This step is an optional configuration based on the step above. Leaving it blank is fine for most users.
7. Set up user accounts: Now we create the profiles of users with access to the OS. Kali recommends you provide the full name of the user.
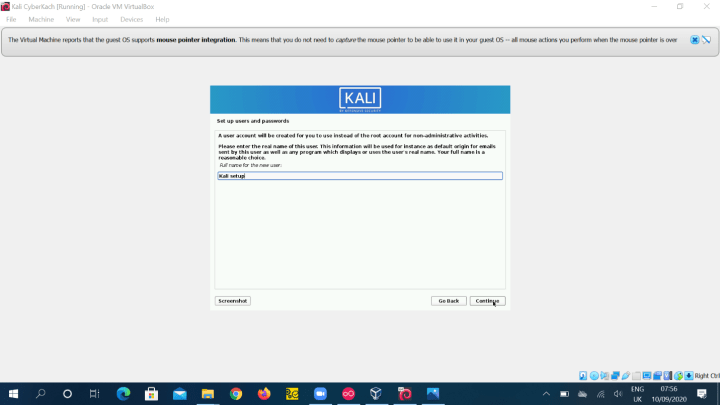
Side note – newer flavors of Kali have disabled the immediate access to the root account upon installation.
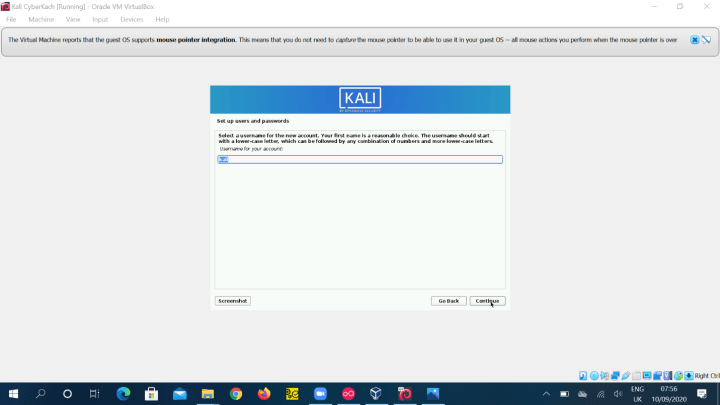
8. Set up a username – Based on your input from the previous step, a username is generated for you. But you can always change this username to anything that suits your preference.
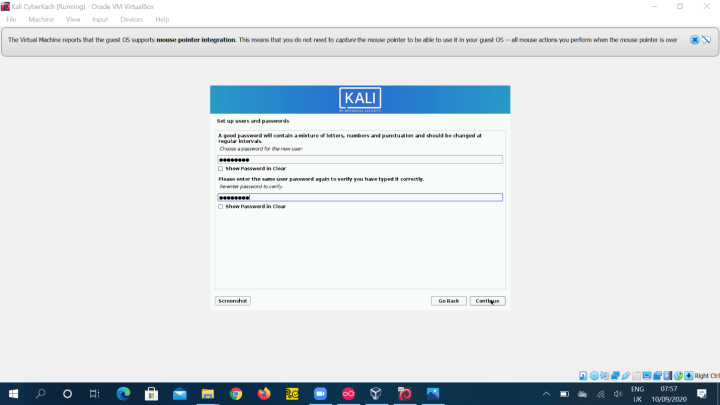
9. Set up a password: Like every other installation/registration process, after providing your username, you must provide a password.
10. Configure the clock – Select your desired time zone.

11. Partition disks – Now we get to the tricky bit – hard disk partitioning. Since your machine was created for the sole purpose of running the Kali OS, partitioning of your hard disk is not required. For this walkthrough, we would be going with the first option – ‘Guided – use entire disk.’
12. Partition disks – After selecting your desired partitioning method, you are required to select the disk to be partitioned. Most likely, there would only be one option and that is the option we would select.

13. Partition disks – At this stage, the safest option is to go with ‘All files in one partition’ unless your needs require multiple partitions. Then you choose the second option.

14. Partition disks – You are prompted with an overview of your currently configured partitions. If you are happy with your current configuration, click on “Finish partitioning and write changes to disk”

15. Partition disks – Next step is to write changes to disk. Select yes and click on continue

16. Configure the package manager – At this point, if you will use a proxy, this is where you would provide that information.

17. Finish the installation – Continue following the prompts to select the packages you want to download and include in your installation.
Congratulations, you have completed the installation of the Kali Linux OS! Time to reboot your machine and log into your newly installed operating system.
Now that you have successfully installed Kali Linux, it is time for you to enjoy what is, arguably, the most popular penetration testing operating system in the world.
Happy Testing!